Creating an API Gateway for AWS with Node.js Lambda Integration
If you want to take AWS to the next level, you will need to create an API Gateway. An API Gateway creates a URL that allows you to post data to it and passes it along to a connected Lambda function running Node.js.
Getting Started
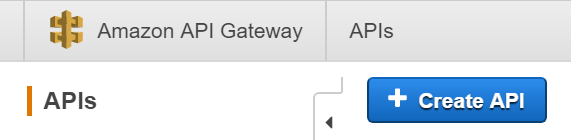
After logging into AWS, click on the search console and navigate to the API Gateway service.
Once you are there, go ahead and click “Create API.”
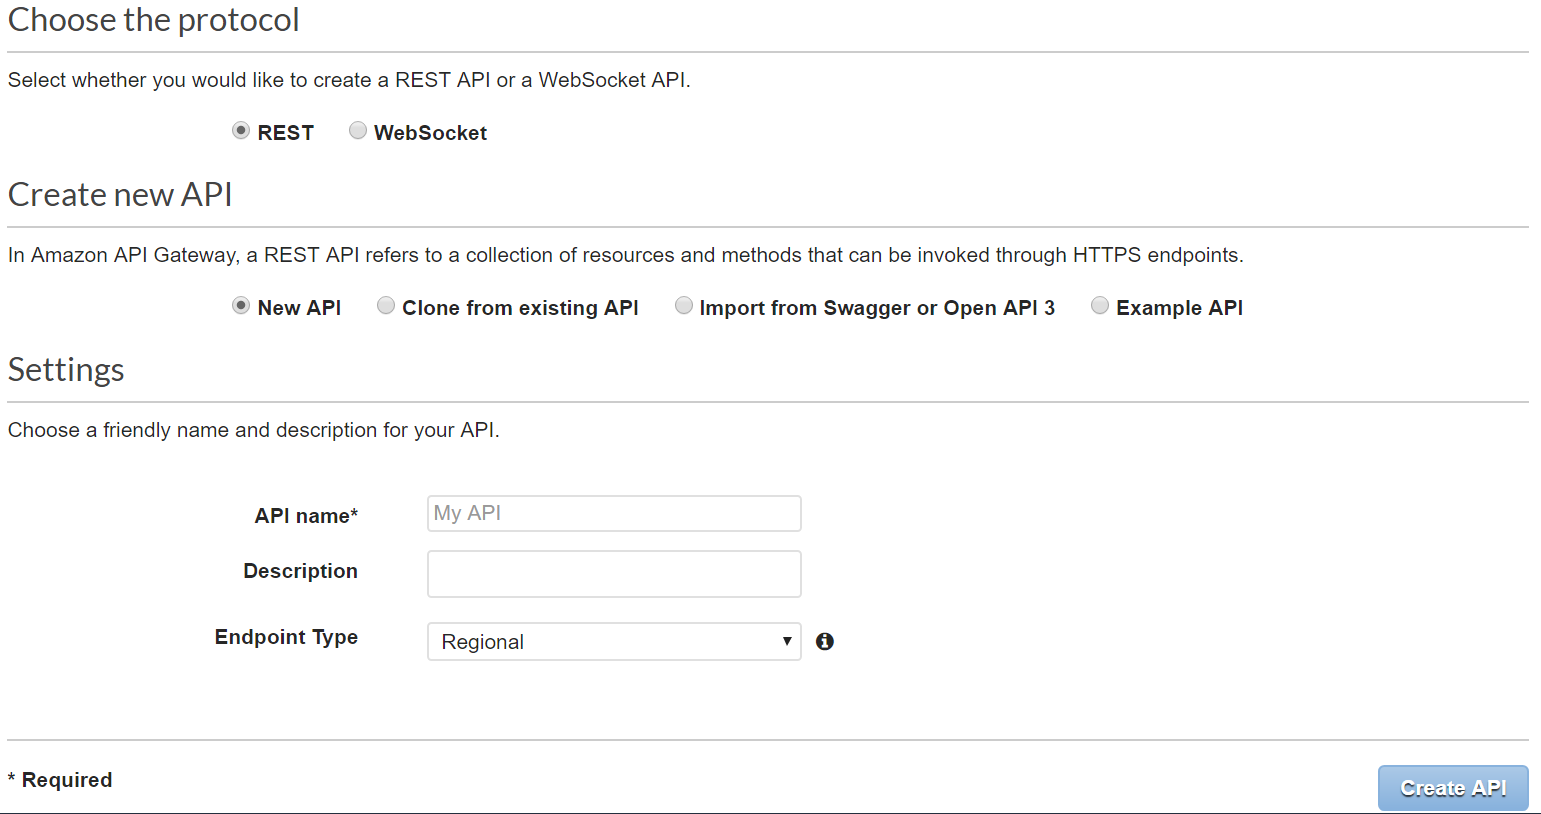
- On the next screen, confirm you have the same options selected and click “Next.”
- Now, you’ll need to click the “Actions” drop-down list and select “Create Method.”
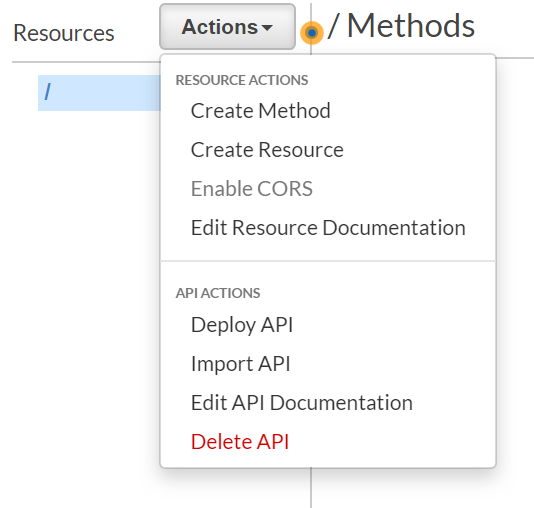
- Create a “POST” method and then click on the method you just created.

Next, fill in the details of your Lambda function while keeping the default settings.
To simplify the way you receive post data to your API Gateway, check the box next to “Use Lambda Proxy Integration.” This allows you to easily parse data inside your Lambda function.

If you don’t already have a Lambda function, go ahead and create a blank one. You can learn how to create a Lambda function in my other post here.
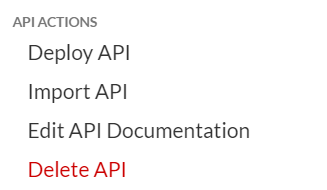
Now that you have saved your API Gateway along with your “POST” method, you’ll want to deploy your changes. Click “Deploy API.”
- You’ll be prompted to name a stage you want to deploy it as. Typically, you’ll want to create a stage named “sandbox” and a stage named “prod.” Let’s go ahead and name it “Sandbox.”
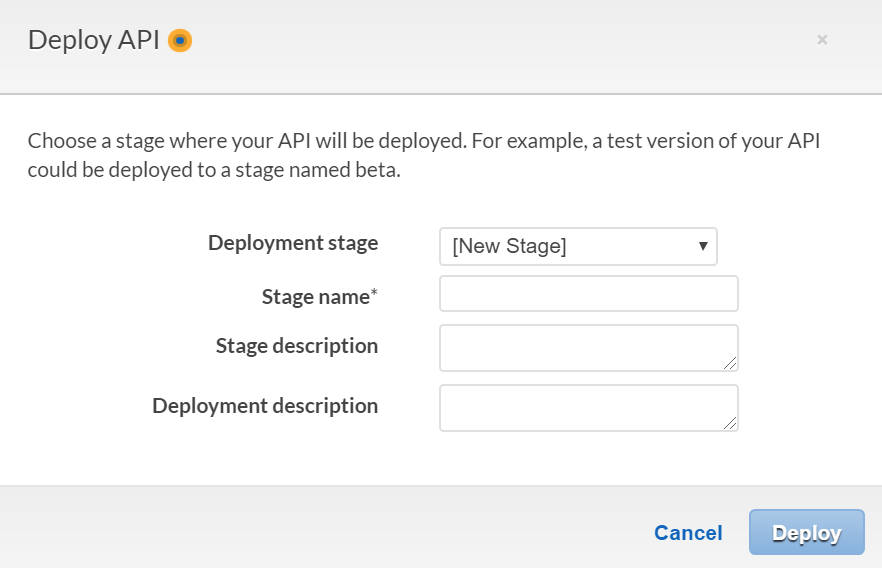
After clicking “deploy,” you have now deployed your gateway setup to a stage, giving a URL you can post data to!
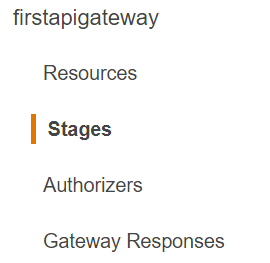
In order to see the URL generated for your API Gateway, you need to click on “Stages.”
- A side panel will open showing the URL you can now post to like this:

- Use this URL to send your post data over to a Lambda function you can attach to the api gateway you just created.